- Learn to create stunning video backgrounds using WordPress’s built-in Cover Block
- Discover tips for optimizing video size and quality for better performance
- Explore alternative methods for adding YouTube or Vimeo videos as backgrounds
Video backgrounds can instantly captivate your audience and communicate your brand or product effectively. In this blog post, I’ll show you how to add a video background to your WordPress website without using any plugins. It’s easier than you might think!
Preparing Your Video
Before we dive into the technical steps, let’s talk about video preparation. This is crucial for ensuring your website performs well. Here are some key points to keep in mind:
- Keep it short: Aim for a video no longer than 20 seconds. Even shorter is better.
- Lower resolution is okay: Remember, this is a background video, not the main focus. You don’t need 4K quality here.
- Compress if needed: If your video file is still too large, consider using a tool like freeconvert.com to compress it further.
By following these guidelines, you’ll create a background video that enhances your site without bogging it down.
Adding a Video Background Using the Cover Block
Now, let’s get into the nitty-gritty of adding your video background. We’ll be using WordPress’s built-in Cover Block, which is surprisingly powerful for this task.
- In the Gutenberg editor, click the ‘+’ icon to add a new block.
- Type “cover” in the search bar and select the Cover Block.
- Choose “Upload” to select a video from your computer, or pick one from your WordPress Media Library.
- Once inserted, click on the cover block and select “Full width” to make it span the entire width of your page.
- Adjust the height to your liking by dragging the bottom edge of the block.
Fine-tuning Your Video Background
With the video in place, it’s time to make some adjustments:
- Focal point: On the right-hand side of the screen, you’ll see a “Focal point picker” option. This lets you choose which area of the video should be visible, especially useful for mobile views.
- Styles: Under the Styles tab, you can tweak various settings like opacity, color overlay, typography, padding, margin, and border radius. Don’t be afraid to experiment here!
Adding Content Over Your Video Background
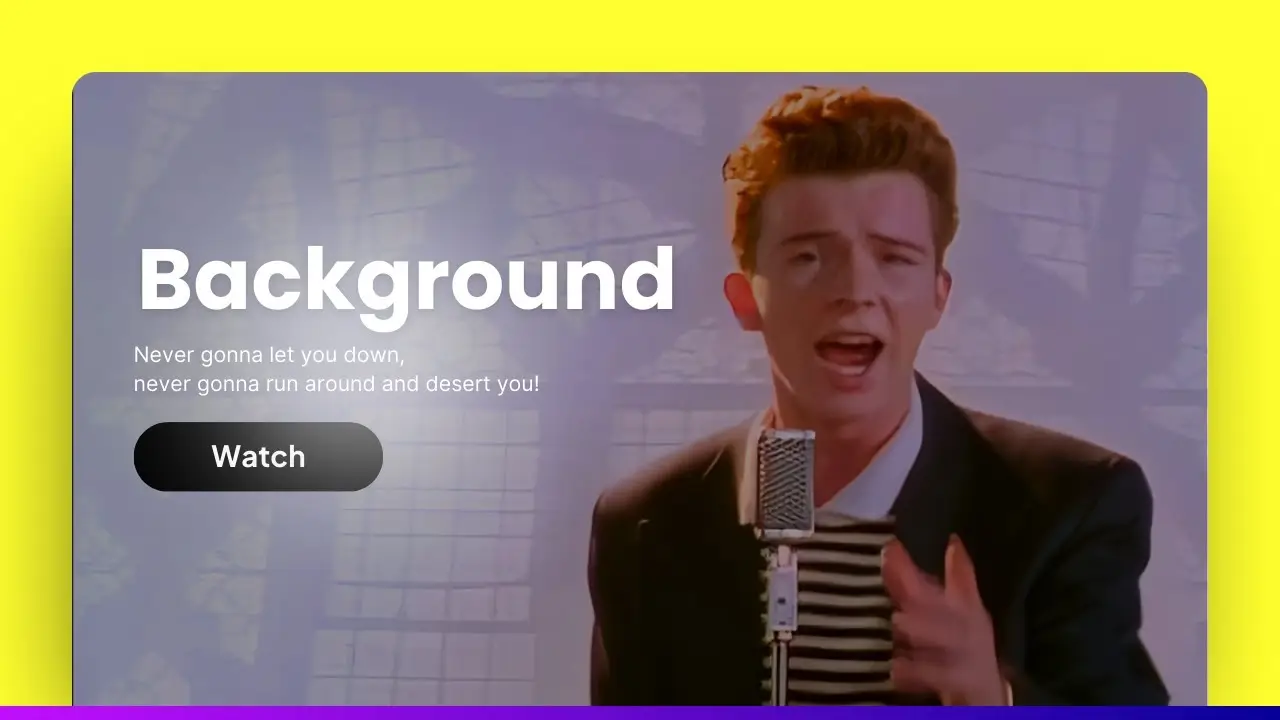
Now that your video background is set up, it’s time to add some content on top. This could be text, buttons, or other elements that complement your video. Simply click inside the Cover Block and start typing or adding other blocks as needed.
Remember, the goal is to create a harmonious blend between your background video and the overlaid content. Make sure your text is legible and your call-to-action buttons stand out.
Using YouTube or Vimeo Videos as Backgrounds
While the Cover Block is great for self-hosted videos, it doesn’t support YouTube or Vimeo URLs out of the box. If you need this functionality, you’ll have to use a plugin. One popular option is the Advanced WordPress Backgrounds (AWB) plugin.
Here’s how to use it:
- Install and activate the AWB plugin from the WordPress plugin repository.
- In your editor, add a new block and search for “AWB” or “Background”.
- Select the AWB block and click on the “Video” tab in the right sidebar.
- Paste your YouTube or Vimeo URL into the provided field.
Adjusting Video Opacity
If your video is too bright and overshadowing your content, you can adjust its opacity:
- Click on the video background block.
- In the right sidebar, scroll down to find the “Background Color” option.
- Choose black as the color.
- Adjust the “Video Opacity” slider until you’re happy with the result. A value between 30-40% often works well.
Why Self-Hosted Videos Are Usually Better
While using YouTube or Vimeo videos as backgrounds is possible, I generally don’t recommend it. Here’s why:
- Performance: Pulling videos from third-party sources can significantly slow down your website.
- Control: You have less control over the video quality and playback options.
- Reliability: If the third-party service goes down, so does your background video.
For these reasons, I strongly suggest sticking with the Cover Block method and using self-hosted videos whenever possible.
Beyond Basic Backgrounds: Exploring Cover Block Potential
The Cover Block isn’t just for video backgrounds. Its versatility allows you to create various engaging designs. For instance, did you know you can use it to craft a cool Bento grid layout? If you’re interested in learning more advanced techniques with the Cover Block, check out my article on creating a Bento grid using just Gutenberg blocks.
Optimizing Your Video Background for Better Performance
While video backgrounds look great, they can impact your site’s performance if not implemented correctly. Here are some tips to ensure your video background doesn’t slow down your site:
- Compress aggressively: Use tools like HandBrake or online services to reduce file size without sacrificing too much quality.
- Consider using GIFs: For very short, looping animations, a well-optimized GIF might be more performant than a video.
- Lazy load your video: Implement lazy loading so the video only starts downloading when it’s about to come into view.
- Provide a fallback image: Always include a static image as a fallback for devices or connections that can’t handle video playback.
Accessibility Considerations
When using video backgrounds, it’s crucial to consider accessibility:
- Ensure sufficient contrast: Make sure text overlaid on the video is easily readable.
- Offer pause controls: Provide a way for users to pause the video if they find it distracting.
- Don’t rely on audio: Your video background should work well without sound, as many users will experience it muted.
Creative Ideas for Video Backgrounds
Now that you know how to add a video background, let’s explore some creative ways to use them:
- Showcase your product: Use a video background to demonstrate your product in action.
- Set the mood: For events or hospitality sites, use video to convey the atmosphere.
- Highlight your process: Show a sped-up version of your work process as a background.
- Nature scenes: For relaxation or travel-related content, subtle nature videos can be very effective.
Remember, the key is to choose a video that enhances your content without overwhelming it.
Troubleshooting Common Issues
Even with a straightforward process, you might encounter some hiccups. Here are solutions to common problems:
- Video not playing: Ensure your video format is widely supported (MP4 is usually safe).
- Choppy playback: This often indicates the file is too large. Try further compression.
- Mobile display issues: Use the focal point picker to ensure the important parts of your video are visible on smaller screens.
Conclusion: Elevate Your WordPress Site with Video Backgrounds
Adding a video background to your WordPress site is a powerful way to engage visitors and convey your message quickly. By using the built-in Cover Block, you can achieve this without relying on plugins, keeping your site lean and fast.
Remember, the key to a successful video background is balance. It should enhance your content, not overshadow it. Keep your videos short, optimized, and relevant to your message.
Ready to take your WordPress design skills further? Explore my guide on creating reusable blocks in WordPress to streamline your workflow and create consistent designs across your site.
Have you tried adding a video background to your WordPress site? Share your experiences or ask questions in the comments below. I’d love to hear how this technique has worked for you!


