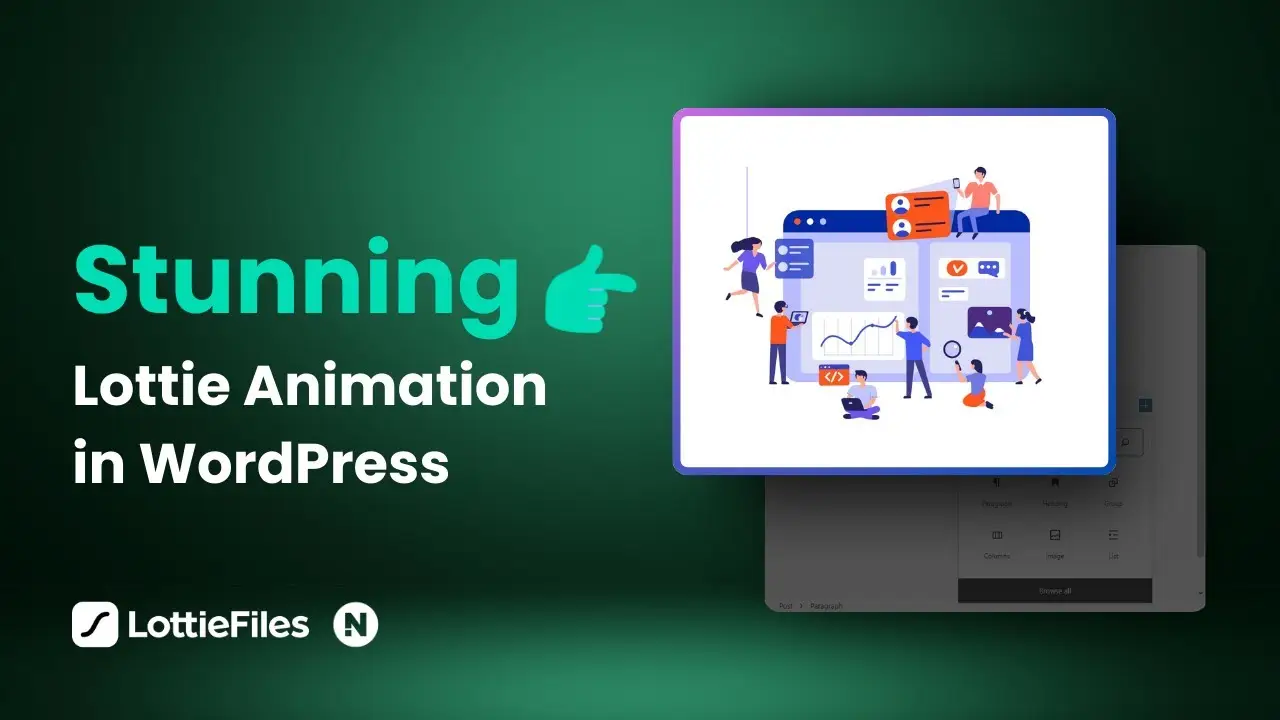
- Learn two methods to add Lottie animations to WordPress
- Discover the benefits of using the official LottieFiles plugin
- Explore customization options for Lottie animations in WordPress
As a WordPress enthusiast, I’m always looking for ways to make my websites more engaging and visually appealing. Recently, I stumbled upon Lottie animations, and I’ve been amazed at how they can breathe life into a static webpage. In this post, I’ll walk you through the process of adding these beautiful animations to your WordPress site. Trust me, it’s easier than you might think!
Let’s dive into two methods for adding Lottie animations to your WordPress site. I’ll share my experience with both approaches, highlighting the pros and cons of each. By the end of this article, you’ll be ready to spruce up your website with some eye-catching animations.
Before we get started, check out this video tutorial that demonstrates the process:
Method 1: Using Custom HTML
The first method involves using custom HTML to embed Lottie animations. This approach is straightforward but has some limitations.
Step 1: Find Your Animation
Start by visiting LottieFiles.com and searching for an animation that fits your needs. There’s a vast library of free animations created by the Lottie community. I filtered my search to show only free animations to keep things budget-friendly.
Step 2: Customize Your Animation (Optional)
If you want to tweak the animation, you can use the basic Lottie editor. I experimented with changing the colors in my chosen animation. It’s a simple process that allows for some personalization.
Step 3: Generate the Embed Code
After customizing (or choosing) your animation, you’ll need to generate the embed code. LottieFiles now requires you to create a free account to access this feature. Once logged in, enable the “Asset Link” option and copy the embed HTML code.
Step 4: Add the Animation to WordPress
In your WordPress Gutenberg editor, add a new “Custom HTML” block. Paste the copied embed code into this block. When you preview the block, you’ll see your animation come to life!
Note: The animation might appear to have a white background in the editor, but don’t worry – it will be transparent when viewed on the live site.
While this method is quick and easy, it offers limited control over the animation’s appearance and behavior on your site. For more flexibility, let’s look at the second method.
Method 2: Using the LottieFiles WordPress Plugin
This approach gives you much more control over your Lottie animations and how they behave on your WordPress site.
Step 1: Install the LottieFiles Plugin
Head to your WordPress dashboard, go to Plugins > Add New, and search for “LottieFiles”. Install and activate the official LottieFiles plugin.
Step 2: Connect Your LottieFiles Account
The plugin will prompt you to log in with your LottieFiles account. This step makes it easier to insert animations from your workspace directly into your website.
Step 3: Add a Lottie Animation to Your Post or Page
In the Gutenberg editor, add a new “Lottie” block. You’ll have several options for inserting animations:
- From your media library
- Discover animations from your account
- Insert from URL
- From your LottieFiles workspace
I chose to insert an animation from my workspace, but feel free to explore the other options.
Step 4: Customize Your Animation
Here’s where the plugin really shines. On the right-hand side of your screen, you’ll find a plethora of customization options. You can:
- Change the background color
- Adjust the size
- Modify the speed
- Toggle controls
- Set looping behavior
- Define interactions
- And much more!
I recommend disabling the controls for a cleaner look, but play around with the settings to find what works best for your site.
The Benefits of Using the LottieFiles Plugin
While the custom HTML method is quick, using the plugin offers several advantages:
- Greater Control: You can easily adjust size, speed, and other parameters without touching code.
- Seamless Integration: The plugin integrates smoothly with the Gutenberg editor, making it easy to add and edit animations.
- Access to Your LottieFiles Workspace: You can directly insert animations from your LottieFiles account.
- Better Preview: The plugin provides a more accurate preview of how your animation will look on the live site.
Tips for Using Lottie Animations Effectively
- Don’t Overdo It: While animations are eye-catching, too many can slow down your site and distract from your content. Use them sparingly for maximum impact.
- Ensure Relevance: Choose animations that complement your content and brand identity. They should enhance, not overshadow, your message.
- Consider Performance: Large or complex animations might affect your site’s loading speed. Optimize your animations and test your site’s performance.
- Make It Accessible: Ensure that important information isn’t conveyed solely through animations, as some users might have animations disabled.
Conclusion
Adding Lottie animations to your WordPress site is a fantastic way to enhance its visual appeal and engage your visitors. Whether you choose the quick custom HTML method or opt for the more flexible LottieFiles plugin approach, you now have the knowledge to bring your WordPress site to life with beautiful animations.
Remember, the key is to use animations thoughtfully and in moderation. When done right, they can significantly improve user experience and make your site stand out from the crowd.
Ready to take your WordPress skills to the next level? Check out my article on how to create responsive pros and cons tables in WordPress for another way to enhance your content presentation. And if you’re looking to speed up your workflow in the Gutenberg editor, don’t miss my tips on how to insert Gutenberg blocks in WordPress.
Happy animating!


