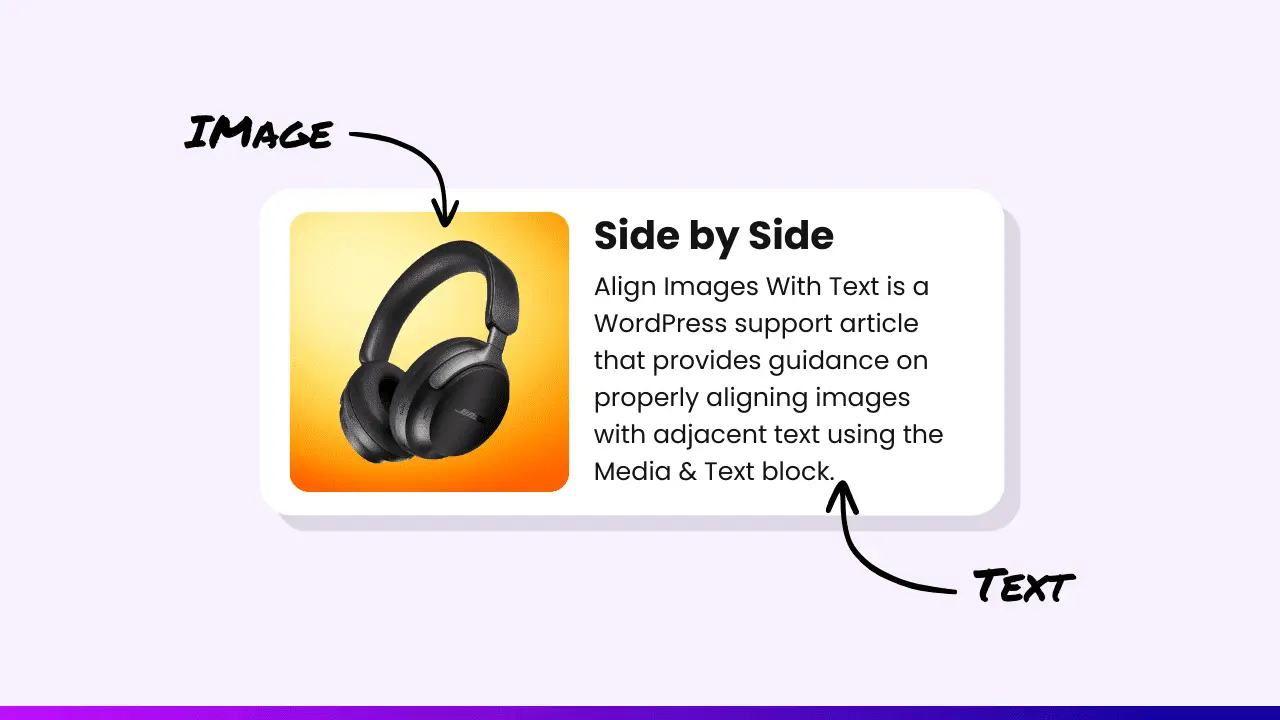
Adding images alongside text is a great way to create engaging and visually appealing content on your WordPress website. It allows you to present information in a more compact and attention-grabbing manner.
In this article, we’ll explore three different methods to add pictures and text side by side in WordPress without using any plugins.
Method 1: Using the Media & Text Block
The Media & Text block is a built-in block in WordPress that allows you to easily place an image or video next to your text content. Here’s how to use it:
- Open the WordPress editor for the post or page where you want to add the picture and text.
- Click on the “+” icon to add a new block and search for “Media & Text”.
- Select the Media & Text block from the list of available blocks.
- On the left side of the block, click on the “Upload” button to add an image from your computer or select one from your WordPress media library.
- On the right side of the block, enter your desired text content.
- Customize the block settings, such as adjusting the image size, changing the layout, or adding background colors, to achieve your desired look.
The Media & Text block is the simplest way to add a picture next to text in WordPress. However, it has some limitations in terms of customization options for the image, such as adding borders or shadows.
Method 2: Using the Image Block
WordPress also allows you to align images within a paragraph using the Image block. Here’s how to do it:
- Open the WordPress editor and add a new Image block.
- Upload or select the desired image from your media library.
- Adjust the image size by dragging the resize handles or using the block settings in the sidebar.
- Change the image alignment to either left or right, depending on your preference.
- Add your text content below the image block.
Keep in mind that the result may vary depending on your WordPress theme. Some themes may use the entire available area to display the image and text, while others may contain them within a specific content area.
Method 3: Using the Columns Block
The Columns block in WordPress provides more flexibility and customization options for creating a picture and text layout. Here’s how to use it:
- Open the WordPress editor and add a new Columns block.
- Select the desired column configuration (e.g., 50/50 or 33/66).
- In one column, add an Image block and upload or select your desired image.
- In the other column, add a Paragraph block and enter your text content.
- Customize the column settings, such as adding background colors, adjusting padding, or applying borders and shadows.
Using the Columns block, you have more control over the appearance of both the image and text. You can create visually appealing layouts that resemble product boxes or other custom designs.
Tips for Enhancing Your Picture and Text Layout
- Optimize your images for web by compressing them before uploading to improve page load times.
- Use descriptive alt text for your images to improve accessibility and SEO.
- Experiment with different column configurations and widths to find the best layout for your content.
- Apply consistent styling, such as colors and fonts, to create a cohesive design throughout your website.
Conclusion
Adding pictures and text side by side in WordPress is a simple way to enhance the visual appeal and readability of your content. By using the Media & Text block, Image block, or Columns block, you can easily create engaging layouts without the need for any plugins. Choose the method that best suits your needs and start creating visually stunning content for your WordPress website today!


