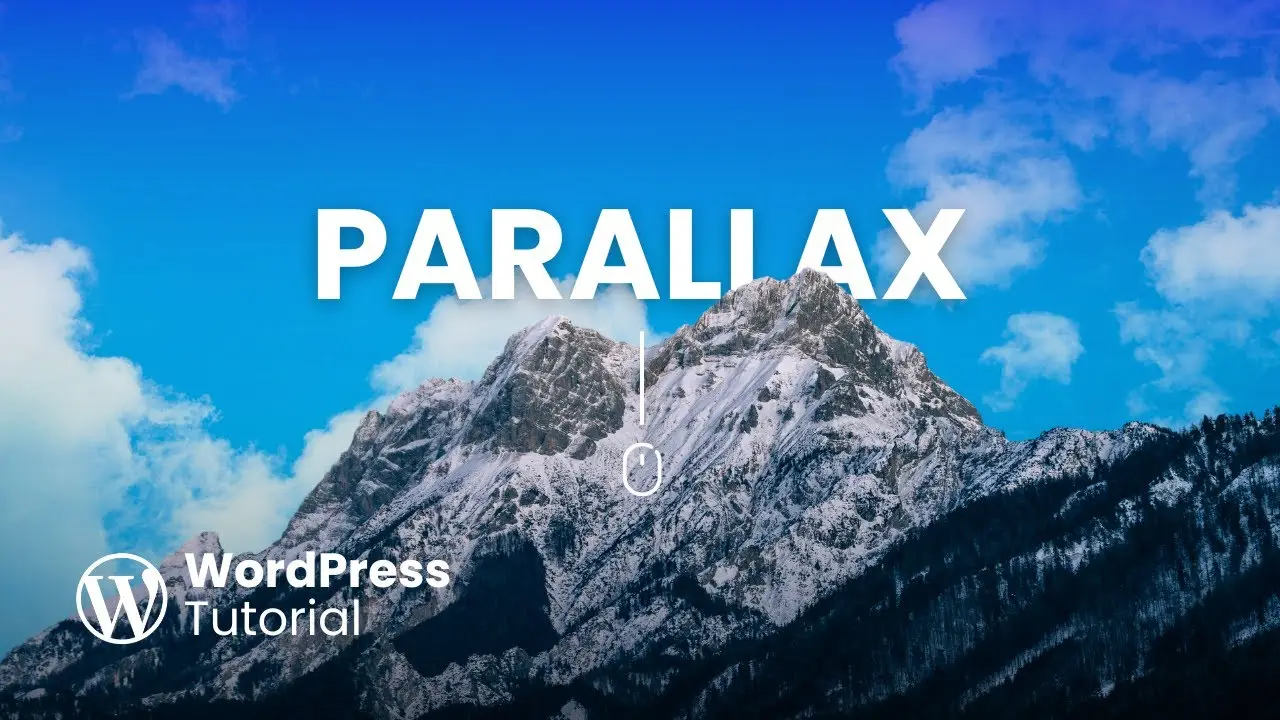
- Learn to create a stunning parallax effect without plugins or coding
- Discover how to use WordPress’s built-in Cover blocks for parallax scrolling
- Master the technique of layering images for a dynamic visual experience
Are you ready to take your WordPress website to the next level? I’ve got a treat for you today! We’re diving into the world of parallax scrolling effects, and the best part? We’re doing it without any plugins or coding. Sounds too good to be true? Well, stick with me, and I’ll show you how it’s done.
First things first, let’s talk about what parallax scrolling is. It’s this cool effect where the background moves at a different speed than the foreground as you scroll down a page. It creates depth and can make your website look super professional. I’ve been using this technique on my own site, and let me tell you, it’s a game-changer.
Now, you might be thinking, “Isn’t this going to be complicated?” Nope! We’re going to use WordPress’s built-in features to create this effect. It’s so simple, you’ll wonder why you haven’t tried it before.
Understanding the Basics of Parallax Effect
Before we dive into the nitty-gritty, let’s break down what makes a parallax effect work. It’s all about layers, folks. You need two main elements:
- A background image (in our case, it’ll be a sky)
- A foreground image (we’ll use a mountain)
The magic happens when these two layers move at different speeds as you scroll. The background (sky) will move, while the foreground (mountain) stays put. It’s this contrast that creates that eye-catching depth we’re after.
Here’s a pro tip: Your foreground image needs to have some transparency. This allows the background to peek through, enhancing the effect. Don’t worry if you’re not a Photoshop wizard – there are plenty of AI tools out there that can help you remove backgrounds and create transparent images. Canva is my go-to for quick image edits, but use whatever you’re comfortable with.
Setting Up Your Parallax Effect in WordPress
Alright, let’s roll up our sleeves and get into the good stuff. We’re going to use the Gutenberg editor for this, so make sure you’re familiar with the basics of how to insert Gutenberg blocks.
Step 1: Adding the Background Layer
- In your WordPress editor, place your cursor where you want the parallax effect to appear.
- Type “/cover” and select the Cover block.
- Upload your background image (remember, we’re using a sky image).
- Click on the cover block and select “Full width” and “Full height” options.
- In the block styles, remove the overlay opacity – we want that sky to shine through!
Step 2: Removing Padding
This step is crucial for a seamless look:
- Click on the cover block.
- In the sidebar, adjust the padding to zero on all sides.
- This ensures there’s no gap around your images.
Step 3: Adding the Foreground Layer
- Add another Cover block inside the first one.
- Upload your foreground image (our mountain).
- Again, make it full width and full height.
- Remove the overlay opacity.
Step 4: Creating the Parallax Magic
Here’s where it gets exciting:
- Select the foreground cover block.
- In the settings, under “Media settings,” enable “Fixed background.”
Boom! You’ve just created a parallax effect. When you scroll, you’ll see the sky move while the mountain stays put. It’s that simple!
Adding Text and Finishing Touches
Want to add some text to your parallax section? Go for it! Just add a paragraph block inside your foreground cover. You can style it however you like – make it bold, increase the size, play with colors. The sky’s the limit (pun intended).
Moving Your Parallax Section
If you need to move your entire parallax section, here’s a little trick:
- Go to the document overview.
- You’ll see two cover blocks – background and foreground.
- Click and drag the background cover (it’s the parent block) to move the entire section.
Why Parallax Scrolling Matters
Now, you might be wondering, “Why should I bother with this?” Well, let me tell you, parallax scrolling isn’t just a pretty face. It’s a powerful tool in your web design arsenal. Here’s why:
- Engagement: It grabs attention and keeps visitors scrolling.
- Storytelling: You can use it to guide users through your content in a visually appealing way.
- Professionalism: It adds a level of polish that can set your site apart from the competition.
Plus, by creating this effect without plugins, you’re keeping your site lean and fast. It’s a win-win!
Troubleshooting and Tips
Like any web design technique, you might run into a few hiccups. Here are some tips to keep in mind:
- Image Selection: Choose high-quality images that complement each other.
- Mobile Responsiveness: Test your parallax effect on different devices. Sometimes, what looks great on desktop might need tweaking for mobile.
- Performance: While this method is lightweight, be mindful of image sizes to keep your page loading quickly.
Conclusion
And there you have it, folks! You’ve just learned how to add a scrolling parallax effect to your WordPress site without touching a single line of code or installing any plugins. It’s a simple technique that can have a big impact on your site’s visual appeal.
Remember, web design is all about experimentation. Don’t be afraid to play around with different images and layouts. The more you practice, the better you’ll get at creating stunning visual effects that will wow your visitors.
So, what are you waiting for? Give it a try and watch your WordPress site transform before your eyes. And hey, if you create something awesome, I’d love to see it! Drop a link in the comments and show off your parallax prowess.
Happy designing, and until next time, keep making the web a more beautiful place, one parallax effect at a time!


