- Comparison tables enhance user experience by presenting data in a clear and organized manner.
- You can create tables using WordPress plugins or the Gutenberg editor, depending on your needs.
- Plugins offer advanced customization options, while Gutenberg is ideal for simple tables.
Comparison tables are an excellent way to showcase differences between products, services, or plans on your WordPress site. Whether you’re running an affiliate marketing blog, a pricing page for your SaaS product, or even an eCommerce store, these tables can make decision-making easier for your visitors. In this post, I’ll walk you through two methods to create sleek comparison tables in WordPress—using plugins and the Gutenberg editor. By the end of this guide, you’ll know exactly how to add interactive and visually appealing tables to your site.
Why Use Comparison Tables?
Comparison tables are more than just a design element; they’re a functional tool that boosts user engagement. Visitors appreciate clear visuals when deciding between options. For instance:
- Better decision-making: Tables simplify complex information into digestible chunks.
- Improved SEO: Well-structured content ranks better on search engines.
- Higher conversion rates: A well-designed table can nudge users toward making a purchase or signing up.
If you’re still wondering whether comparison tables are worth the effort, think about how often you’ve seen them on pricing pages or product reviews. They work because they’re simple yet effective.
Method 1: Using Plugins for Advanced Control
Plugins are ideal if you need advanced features like sorting, filtering, or custom styling. One popular plugin for creating comparison tables is ElementsKit, which offers robust customization options. Here’s how you can use it:
Steps to Create Comparison Tables with Plugins
- Install the Plugin: Go to Plugins > Add New in your WordPress dashboard. Search for ElementsKit or another table plugin like WP Table Manager.
- Activate and Configure: After installation, enable the table widget from the plugin’s dashboard.
- Create Your Table:
- Navigate to ElementsKit > Widgets and select the table widget.
- Add rows and columns based on your requirements.
- Customize Styling:
- Adjust font size, colors, and borders using the plugin’s settings.
- Enable sorting or filtering options for better usability.
Why Choose Plugins?
Plugins offer more control over table functionality compared to Gutenberg blocks. For example:
- Interactive Features: Add hover effects or clickable links directly within cells.
- Responsive Design: Ensure your tables look great on all devices without extra coding.
If you’re building tools like an Instagram Screenshot Generator, plugins can also integrate seamlessly with other functionalities (learn more).
Method 2: Creating Tables with Gutenberg Blocks
If simplicity is what you’re after, Gutenberg’s built-in table block is perfect. This method doesn’t require additional plugins and works well for basic comparison needs.
Steps to Create Tables with Gutenberg
- Add a Table Block:
- Open your page or post in the Gutenberg editor.
- Click the “+” icon and search for “Table.”
- Select the number of rows and columns you need.
- Fill in Your Data:
- Add text, numbers, or even icons to each cell.
- Use formatting options like bold and italics for emphasis.
- Style Your Table:
- Choose between default and striped styles from the block settings.
- Add borders or background colors for better readability.
Limitations of Gutenberg Tables
While easy to use, Gutenberg blocks have limited customization options compared to plugins. For example:
- No built-in sorting or filtering features.
- Styling options are basic unless you use custom CSS.
Still, if you’re working on simple layouts like adding a vertical line between columns (read more), Gutenberg is sufficient.
Comparing Both Methods
Here’s a quick comparison of using plugins versus Gutenberg blocks:
| Feature | Plugins (e.g., ElementsKit) | Gutenberg Blocks |
|---|---|---|
| Ease of Use | Moderate | Easy |
| Customization Options | Extensive | Limited |
| Responsive Design | Built-in | Requires manual tweaks |
| Interactive Features | Yes | No |
For advanced projects like creating responsive pros-and-cons tables (explore here), plugins are clearly superior.
Tips for Optimizing Your Comparison Tables
Regardless of the method you choose, here are some tips to make your tables stand out:
Use Clear Headers
Headers should define what each column represents—features, pricing tiers, etc.—to avoid confusion.
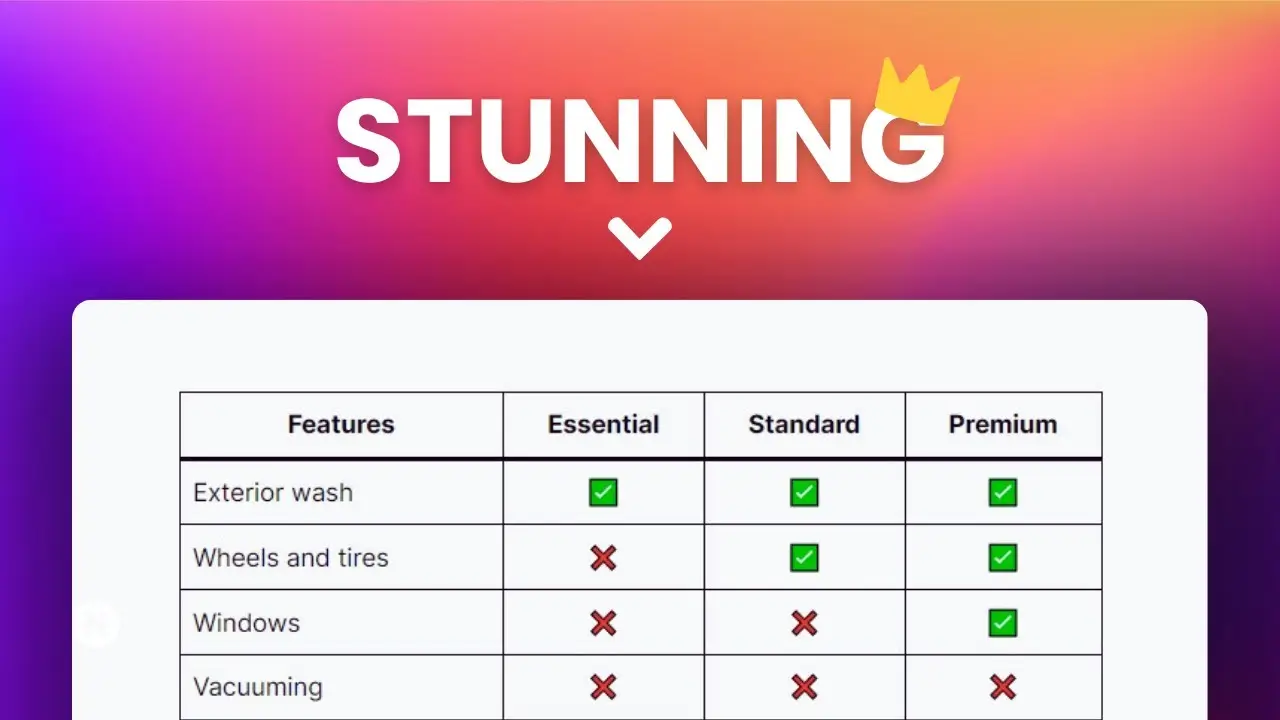
Add Visual Enhancements
Icons or color-coded cells can make your table more engaging. For instance:
- Green for positive attributes.
- Red for drawbacks.
Keep It Mobile-Friendly
Ensure your table adapts well on smaller screens by testing responsiveness during setup.
Final Thoughts
Adding comparison tables to your WordPress site doesn’t have to be complicated. Whether you opt for plugins or stick with Gutenberg blocks, both methods have their strengths depending on your project needs. Personally, I prefer using plugins when I want full control over styling and functionality—especially for eCommerce sites where user experience is critical.
If you’re looking for more ways to enhance your WordPress site without relying heavily on plugins, check out this guide on reducing plugin reliance. It’s packed with practical tips that can save you time and resources.
So go ahead—start creating sleek comparison tables today!


