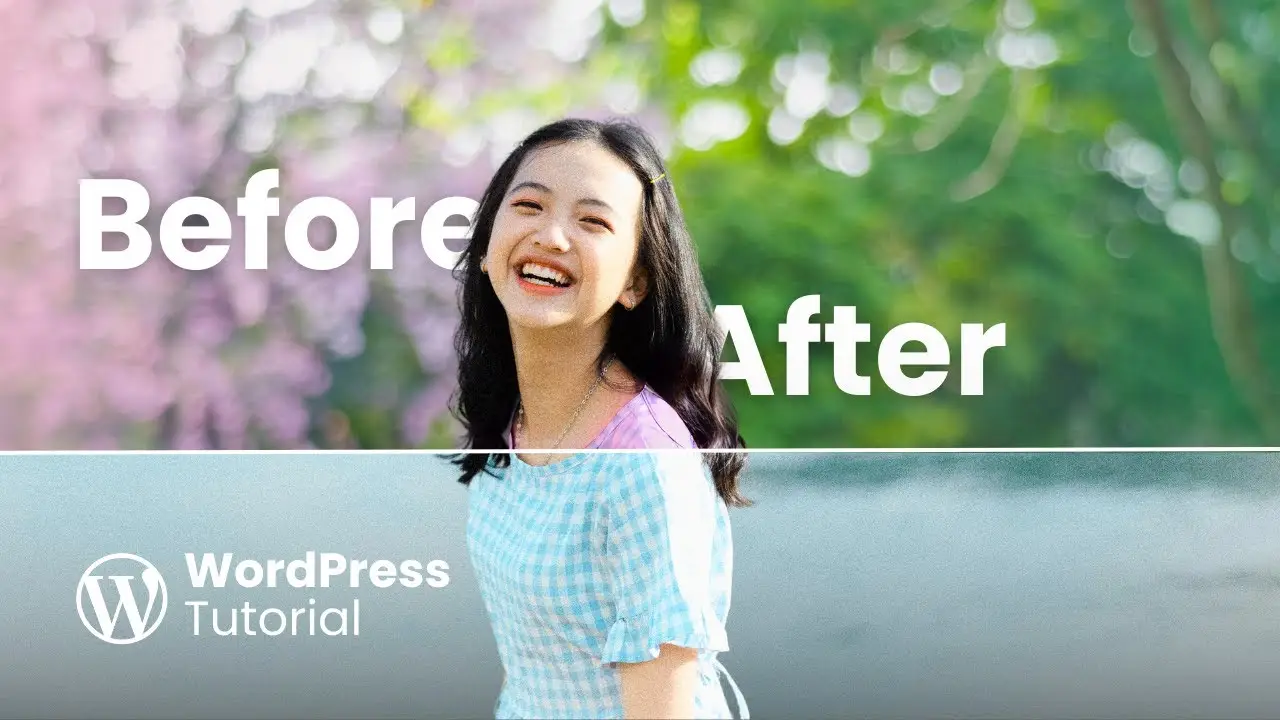
Key takeaways:
- Create a before-after slider using WordPress cover blocks
- No plugin or coding required
- Customize the effect with simple Gutenberg editor settings
As a WordPress enthusiast, I’m always on the lookout for creative ways to enhance website design without relying on plugins. Today, I’m excited to share a nifty trick I discovered for creating a before-after effect using nothing but the built-in Gutenberg editor. This method is perfect for those who want to showcase transformations or comparisons without the need for additional plugins or complex coding.
Let me walk you through the process of creating this effect step-by-step. It’s simpler than you might think and can add a professional touch to your WordPress site.
Setting Up the Cover Blocks
The magic behind this technique lies in the clever use of WordPress cover blocks. Here’s how to get started:
- Open your Gutenberg editor and position your cursor where you want the before-after effect to appear.
- Type “CL” to quickly add a cover block.
- Select your “before” image for this first cover block.
- Type “before” as the text overlay.
Now, let’s customize this cover block:
- Make it full height and full width for maximum impact.
- Remove the black overlay by setting its opacity to zero in the block styles.
- Adjust the margins to eliminate any surrounding gaps.
- Change the text color to white for better visibility.
- Enable the “fixed background” option in media settings for a parallax effect.
Creating the “After” Block
With our “before” block set up, it’s time to create the “after” portion:
- Duplicate the entire cover block you just created.
- In this new block, replace the image with your “after” picture.
- Change the text to “after”.
To differentiate the blocks visually:
- Move the “before” text to the bottom center of its block.
- Position the “after” text at the top center of its block.
Fine-Tuning the Effect
Here’s where we can add some finesse to our before-after slider:
- Adjust the margins slightly to create a thin line between the two images.
- Click on either cover block and go to block styles.
- In the margin settings, enter a small value (like 3 pixels) for a subtle separator.
This thin line adds a professional touch, clearly delineating the before and after sections.
The Power of WordPress Cover Blocks
What we’ve created here is more than just a simple before-after slider. It’s a testament to the versatility of WordPress’s native features. The cover block, in particular, is a powerhouse for creating engaging visual effects.
This technique opens up a world of possibilities for showcasing transformations on your website. Whether you’re a:
- Fitness trainer displaying client progress
- Home renovation expert showing before and after projects
- Graphic designer presenting logo redesigns
- Skincare brand demonstrating product results
This effect can significantly enhance your visual storytelling without the need for additional plugins.
Advantages of This Method
Using this plugin-free approach offers several benefits:
- Lightweight: No extra code means faster loading times.
- Customizable: Easy to adjust within the Gutenberg editor.
- No dependencies: You’re not reliant on plugin updates or compatibility.
- Learning opportunity: It helps you understand WordPress’s native capabilities better.
Expanding Your WordPress Skills
While we’ve focused on a horizontal before-after effect here, the principles can be adapted for various creative uses. For instance, you could create a vertical slider by adjusting the block arrangements.
If you’re interested in further enhancing your WordPress site with native features, you might want to explore other Gutenberg tricks. For example, learning how to create reusable blocks in WordPress can save you time and ensure consistency across your site.
Potential Challenges and Solutions
While this method is straightforward, you might encounter a few challenges:
- Image sizing: Ensure your before and after images are the same size for the best effect.
- Mobile responsiveness: Test how the effect looks on different screen sizes and adjust as needed.
- Text visibility: Depending on your images, you might need to play with text positioning or add a semi-transparent overlay for better readability.
Enhancing Your WordPress Site Further
This before-after effect is just the tip of the iceberg when it comes to creative WordPress design. To further improve your site, consider:
- Optimizing your images for SEO
- Creating engaging content with AI prompts
- Exploring ways to monetize your website
Conclusion
Creating a before-after effect in WordPress without a plugin is not only possible but also surprisingly simple. By leveraging the power of cover blocks in the Gutenberg editor, you can create engaging, interactive content that showcases transformations or comparisons effectively.
This technique demonstrates that with a bit of creativity, WordPress’s native features can often accomplish what you might think requires a plugin. It’s a reminder to explore and experiment with the tools at hand before reaching for additional plugins.
Remember, the key to a great WordPress site isn’t always about adding more plugins, but about using the existing features creatively and effectively. So go ahead, give this before-after effect a try on your site, and see how it can enhance your visual storytelling!


