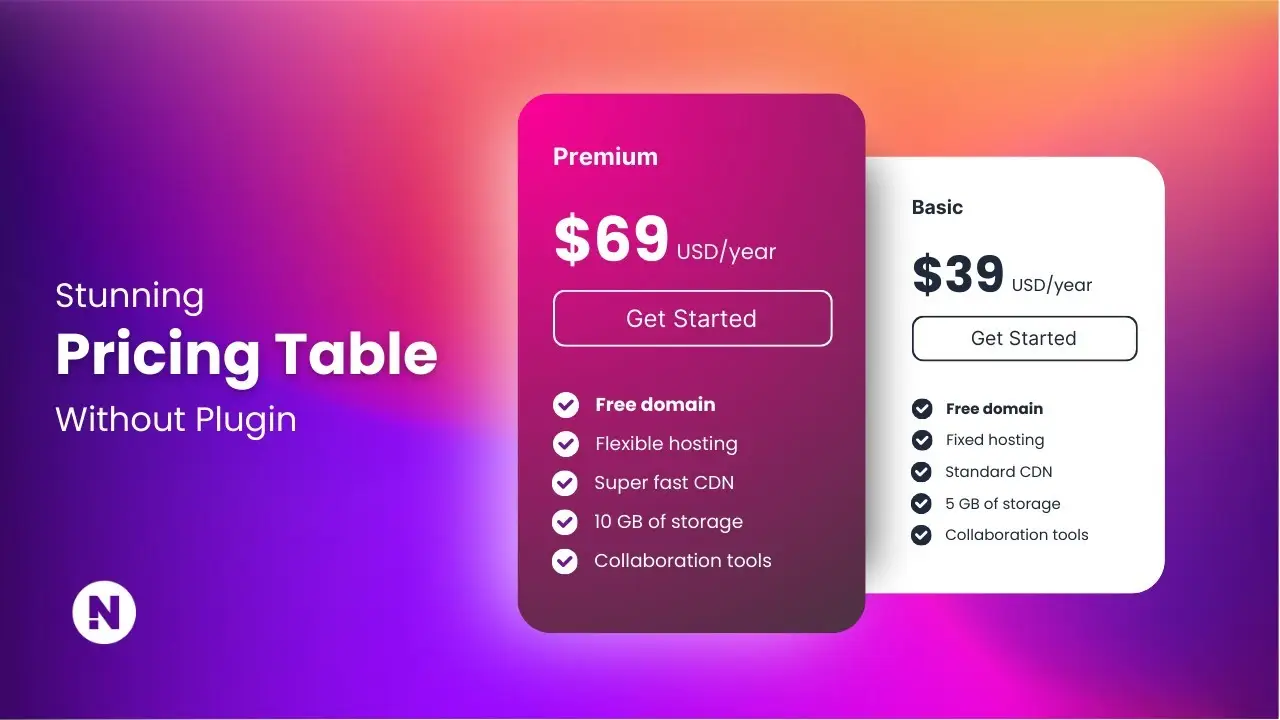
- Learn to build attractive pricing tables using WordPress block editor
- Discover how to use WordPress Pattern Directory for quick and easy designs
- Master the process of customizing pricing tables to match your brand
Creating an eye-catching pricing table for your WordPress website doesn’t have to be a complex task. In this guide, I’ll show you how to build a professional-looking pricing table without relying on Elementor or other plugins. We’ll explore two methods: using the WordPress Pattern Directory for a quick solution and building from scratch using the Gutenberg editor.
Let’s dive in and transform your website’s pricing presentation!
Method 1: Using WordPress Pattern Directory
The WordPress Pattern Directory is a goldmine for those who want to add complex structures like pricing tables without designing everything from scratch. Here’s how to use it:
- Visit the WordPress Pattern Directory
- Use the search feature to find pricing table patterns
- Browse through the options and select one you like
- Click the “Copy” button to copy the pattern code
- In your WordPress editor, paste the copied code using Ctrl+V
Once you’ve pasted the pattern, you’ll likely need to make some adjustments to match your site’s style:
- Adjust text colors for better visibility
- Modify background colors or gradients
- Change text content to reflect your pricing structure
- Add links to your buttons
For example, to change a button’s background to a gradient:
- Select the button block
- Go to the Styles tab in the block settings
- Choose “Gradient” under the Background options
- Input your desired color codes or use the color picker
Remember, you can always tweak padding, margins, and other design elements to perfect the look.
Method 2: Building from Scratch
If you prefer more control or want to understand the process better, here’s how to create a pricing table from scratch:
- Add a new Group block to contain your pricing table
- Insert a Columns block within the Group, choosing a three-column layout
- For each column, add another Group block to manage content easily
Now, let’s build the content for one column:
- Add a Paragraph block for the plan name (e.g., “Ultimate”)
- Insert a Heading block for the price (e.g., “$4.35”)
- Add another Paragraph block for the billing frequency (e.g., “per month”)
- Use a List block for features
- Insert a Button block for the call-to-action
Style each element by adjusting:
- Text alignment (usually center for pricing tables)
- Font sizes and colors
- Line heights for better spacing
For the overall design:
- Select the outer Group block
- Set a background color (e.g., white)
- Add a border and adjust the border-radius for rounded corners
- Set appropriate padding to give content some breathing room
Once you’ve styled one column to your liking, you can duplicate it for the other two columns and adjust the content accordingly.
Tips for Effective Pricing Tables
- Clear Hierarchy: Make sure your most popular or recommended plan stands out. You can do this by using a different background color or adding a “Popular” badge.
- Consistent Styling: Keep fonts, colors, and spacing consistent across all columns for a professional look.
- Highlight Key Features: Use bold text or icons to draw attention to the most important features of each plan.
- Use White Space: Don’t overcrowd your table. Adequate spacing makes it easier for visitors to compare options.
- Mobile Responsiveness: Test your pricing table on various devices to ensure it looks good on all screen sizes. You might need to adjust the column layout for mobile views.
- Clear CTAs: Use action-oriented text on your buttons like “Get Started” or “Choose Plan” instead of generic “Sign Up” labels.
- Consider Adding a Comparison: For more complex products, you might want to add a detailed comparison table below your pricing table to help users make informed decisions.
Enhancing Your Pricing Strategy
While the design of your pricing table is crucial, the strategy behind your pricing can significantly impact conversions. Here are some tips to consider:
- Offer a Range of Options: Typically, a three-tier pricing structure works well, catering to different customer segments.
- Use Price Anchoring: Place your preferred option in the middle, making it look more attractive compared to the higher-priced option.
- Highlight Value: Don’t just list features; explain the benefits and value proposition of each tier.
- Consider Annual Pricing: Offer a discount for annual subscriptions to encourage longer commitments.
- Use Social Proof: If possible, include customer testimonials or usage statistics near your pricing table to build trust.
- Update Regularly: Regularly update your website content, including your pricing table, to reflect current market conditions and your product’s evolving value.
Conclusion
Creating an effective pricing table in WordPress doesn’t require advanced coding skills or premium plugins. By leveraging the WordPress Pattern Directory or building from scratch with Gutenberg blocks, you can design professional-looking pricing tables that convert visitors into customers.
Remember, the key to a successful pricing table isn’t just in its design, but also in how well it communicates the value of your offerings. Experiment with different layouts, colors, and content to find what resonates best with your audience.
Lastly, don’t forget to integrate your pricing table seamlessly with the rest of your website design. A cohesive look builds trust and professionalism. For inspiration, check out these WordPress website design inspirations to see how others are presenting their pricing information effectively.
With these tools and tips at your disposal, you’re well-equipped to create pricing tables that not only look great but also drive conversions for your business. Happy designing!


