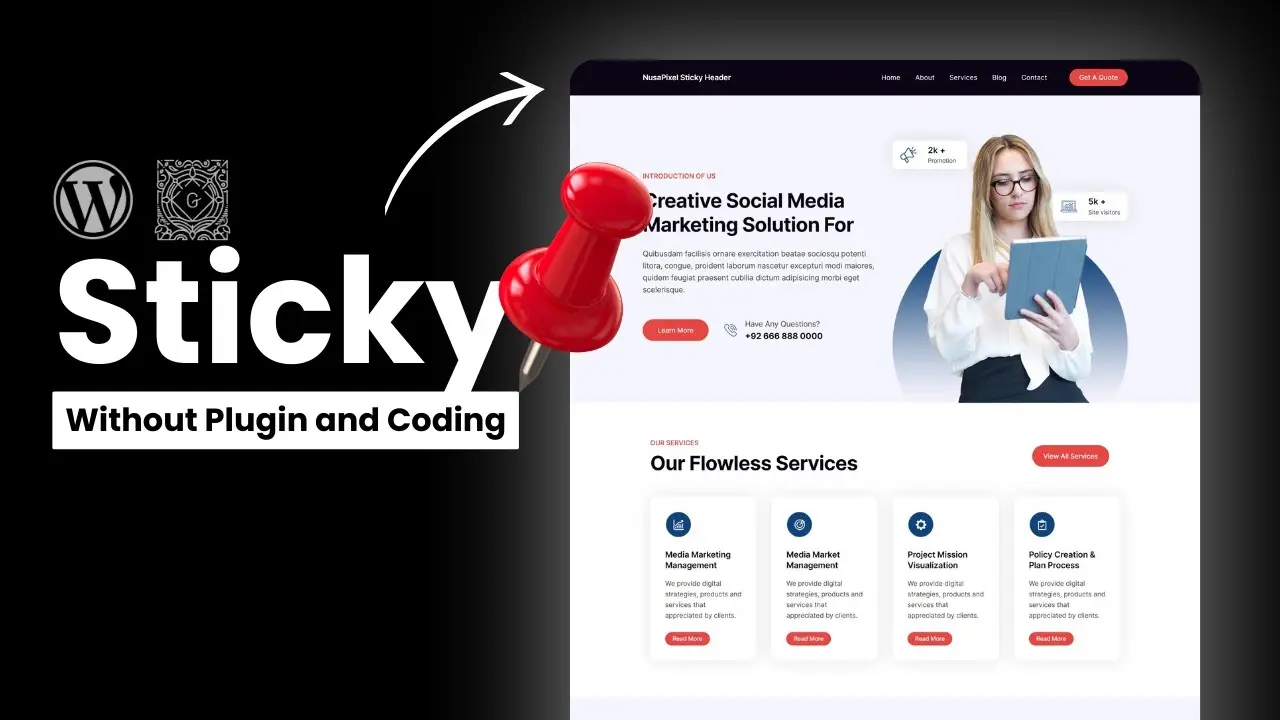
- A sticky header improves navigation and user experience by keeping the header visible as users scroll.
- You can create a sticky header in WordPress Gutenberg without using plugins or custom code.
- This method works across most block-based WordPress themes.
Have you ever scrolled through a website and noticed the header stays fixed at the top of the page? That’s called a sticky header, and it’s an essential feature for improving navigation and user experience. Whether it’s a logo, menu, or call-to-action (CTA) button, having these elements always visible can make your site more user-friendly and professional.
In this post, I’ll walk you through how to create a sticky header in WordPress using the Gutenberg editor—no plugins or coding required. This method is simple, effective, and compatible with most block-based WordPress themes.
Why Use a Sticky Header?
Sticky headers offer several benefits that go beyond aesthetics. Here’s why you might want to add one to your site:
- Improved Navigation: Users can quickly access your menu or search bar without scrolling back to the top.
- Enhanced Branding: Your logo remains visible, reinforcing brand recognition.
- Boosted Conversions: CTAs like “Sign Up” or “Contact Us” stay front and center, increasing engagement.
- Better User Experience: Visitors spend more time on your site when navigation is seamless.
Step-by-Step Guide to Creating a Sticky Header in Gutenberg
Let’s dive into the process. Follow these steps to make your header sticky using only Gutenberg features.
Step 1: Access the Site Editor
- Log in to your WordPress dashboard.
- Navigate to Appearance > Editor.
This opens the full-site editor where you can modify templates such as headers, footers, and pages.
Step 2: Select Your Header
- In the editor, click on Templates or Template Parts from the left-hand menu.
- Choose the template that includes your header (e.g., “Homepage” or “Blog Index”).
If your theme doesn’t have a pre-built header template, you can create one by adding a new block and setting it as a header.
Step 3: Group Your Header
To make the header sticky, it must be part of a group block:
- Open the List View (three horizontal lines at the top-left corner of the editor).
- Select your header block.
- Right-click and choose Group. This wraps your header inside a group block.
Pro Tip: Rename this group to “Sticky Header” for easy identification later.
Step 4: Enable Sticky Positioning
Now comes the magic:
- Select the group block containing your header.
- Open the settings panel on the right-hand side.
- Under Position, change it from “Default” to Sticky.
This setting ensures that your header stays fixed at the top of the page as users scroll.
Step 5: Adjust Styling (Optional)
Depending on your theme, you may need to tweak some styles:
- Add a background color to ensure your sticky header isn’t transparent.
- Adjust padding or margins for better spacing.
- Test responsiveness on mobile devices.
Here’s how you can add a background color:
- Select the group block.
- Go to Styles > Background Color in the settings panel.
- Choose a solid color that complements your site design.
Common Issues and Fixes
Even though this method is straightforward, you might run into some hiccups. Here are common problems and how to solve them:
| Issue | Solution |
|---|---|
| Header overlaps content | Add padding or margin to the top of your page content using Gutenberg styles. |
| Sticky header not working | Ensure that no parent block has conflicting positioning styles (e.g., relative). |
| Transparent background | Add a solid background color as described above. |
For more tips on improving layout consistency, check out this guide on adding lines between columns.
Why Avoid Plugins?
While there are plenty of plugins available for creating sticky headers, they often come with downsides:
- Increased load times due to additional scripts.
- Potential compatibility issues with other plugins or themes.
- Less control over customization compared to Gutenberg’s native features.
If you’re looking for ways to reduce plugin reliance while maintaining functionality, I recommend reading this article on streamlining WordPress sites.
Best Practices for Sticky Headers
To maximize usability and performance, keep these tips in mind:
- Keep It Minimal: Avoid cluttering your sticky header with too many elements; stick to essentials like navigation links and CTAs.
- Test Responsiveness: Ensure your sticky header looks good on all screen sizes, especially mobile devices.
- Optimize Performance: Clear browser cache after making changes and monitor site speed regularly.
For additional insights on optimizing WordPress performance, check out this guide.
Conclusion
Creating a sticky header in WordPress Gutenberg is easier than ever thanks to its built-in features. With just a few clicks, you can improve navigation, enhance branding, and boost user engagement—all without relying on third-party plugins or custom code.
If you’re interested in learning more about customizing WordPress layouts without plugins, explore our tutorial on creating scroll-to-top buttons.
Have questions or need further assistance? Drop them in the comments below!


