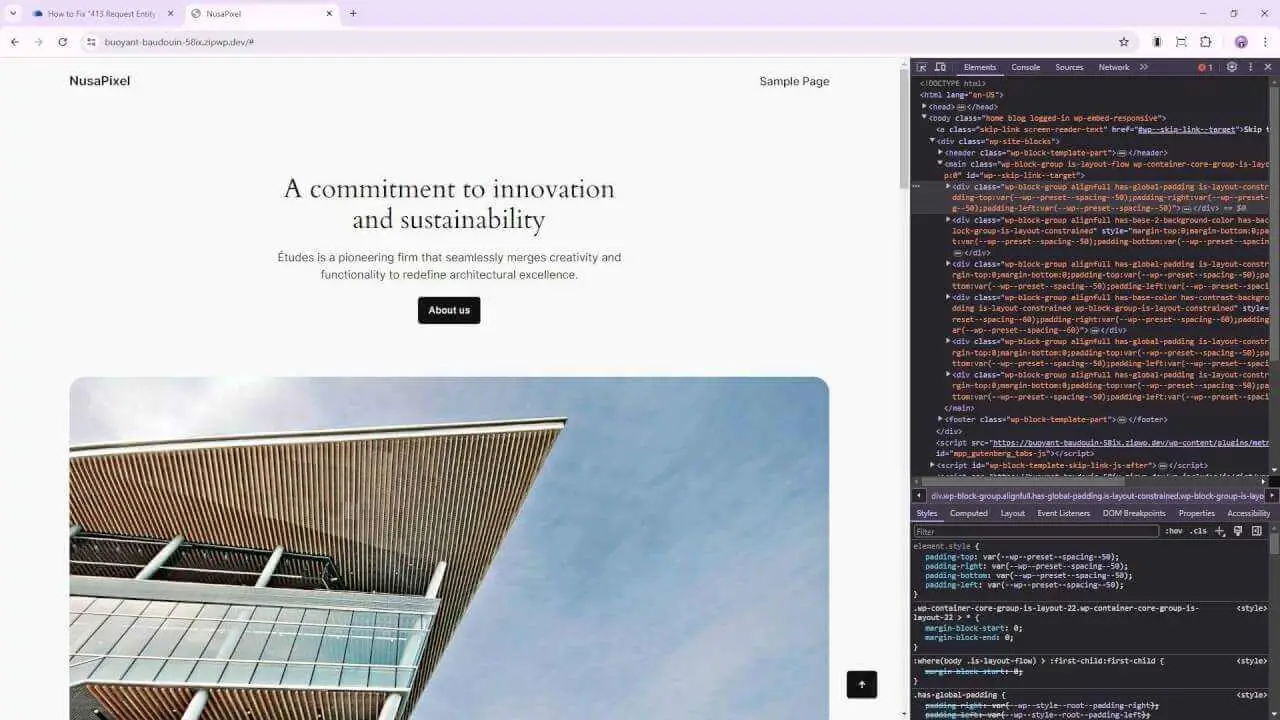
With the introduction of block themes and the Gutenberg editor, it’s now possible to create this functionality using just a few blocks and some custom CSS.
In this article, we’ll walk you through the steps to create a scroll to top button that appears after a short delay, giving your visitors time to scroll down the page before the button becomes visible.
Prerequisites
Before we dive into the tutorial, there are a couple of things to keep in mind:
- This method only works with block themes. If your WordPress theme is not a block theme, you won’t be able to follow along.
- The scroll to top button we’ll create doesn’t behave exactly like a traditional one. Due to the limitations of using only the Gutenberg editor and CSS, there are some compromises we need to make. However, the end result is still a functional and visually appealing scroll to top button.
Step 1: Add a Button Block
Start by navigating to your WordPress dashboard and clicking on Appearance > Editor. This will open the Gutenberg editor for your site. Click on the footer area, as we want to add the scroll to top button at the very end of the page. This ensures that if you make any mistakes or mess up your design, it will be at the bottom, where fewer people are likely to notice.
Click on the “Add Block” button and search for the “Buttons” block. Add it to your footer and align it to the right using the “Justify items right” option. For the button symbol, you can use a simple upward-pointing arrow. The Alt + 2 + 4 keyboard shortcut on the numeric keypad will give you a nice arrow character. Feel free to use an emoji, symbol, or even a custom icon if you prefer.
Step 2: Add a Link and CSS Class
With the button in place, it’s time to make it function as a scroll to top button. Click on the button and then on the link icon. In the URL field, simply enter a “#” symbol. This is typically used for fragment identifiers to navigate to different sections of a page, but in this case, we’ll use it to create our scroll to top functionality.
Next, we need to assign a CSS class to the button. In the button’s settings panel, go to the Advanced tab and add “scroll-to-top” (or any other name you prefer) in the Additional CSS Class field.
Step 3: Move the Button Block to the Footer
To ensure that the scroll to top button appears on every page of your website, we need to make it a part of either the header or footer template. Since the footer is present on all pages, we’ll place our button there. Simply drag the button block into the footer block, and it will become a child element of the footer.
Step 4: Add CSS Code
Now that our button is in place, it’s time to add the CSS code that will control its appearance and behavior. Click on the “Styles” menu in the editor and navigate to the “Additional CSS” section. Here, you’ll add the following code:
.scroll-to-top {
  opacity: 0;
  transition: opacity 0.3s ease-in-out;
  animation: fadeIn 0.3s ease-in-out 5s forwards;
  cursor: pointer;
}

@keyframes fadeIn {
  0% {
    opacity: 0;
  }
  100% {
    opacity: 1;
  }
}
This CSS code does a few things:
- It sets the initial opacity of the button to 0, making it invisible.
- It adds a transition effect to the opacity property, creating a smooth fade-in effect.
- It defines a
fadeInanimation that changes the opacity from 0 to 1 over a duration of 0.3 seconds, with a 5-second delay. This means the button will appear after 5 seconds, giving your visitors time to scroll down the page. - It sets the cursor property to “pointer”, indicating that the button is clickable.
Step 5: Enable Smooth Scrolling
If you test your scroll to top button now, you’ll notice that it works, but the scrolling is abrupt and jarring. To create a smooth scrolling effect, we need to add one more line of CSS:
html {
  scroll-behavior: smooth;
}
This tells the browser to use smooth scrolling for the entire page, resulting in a more pleasant user experience when clicking the scroll to top button.
Conclusion
There you have it! You’ve now created a scroll to top button in WordPress using only the Gutenberg editor and some custom CSS. While this method has its limitations compared to using a dedicated plugin, it’s a great way to add this functionality to your block theme without relying on external tools.
Keep in mind that you can further customize the button’s appearance and behavior by modifying the CSS code. Experiment with different delay times, animations, and styles to find the perfect fit for your website.


