- Learn two methods to create transparent buttons in WordPress
- Discover how to customize button appearance using the Gutenberg editor
- Explore advanced techniques for creating gradient border buttons
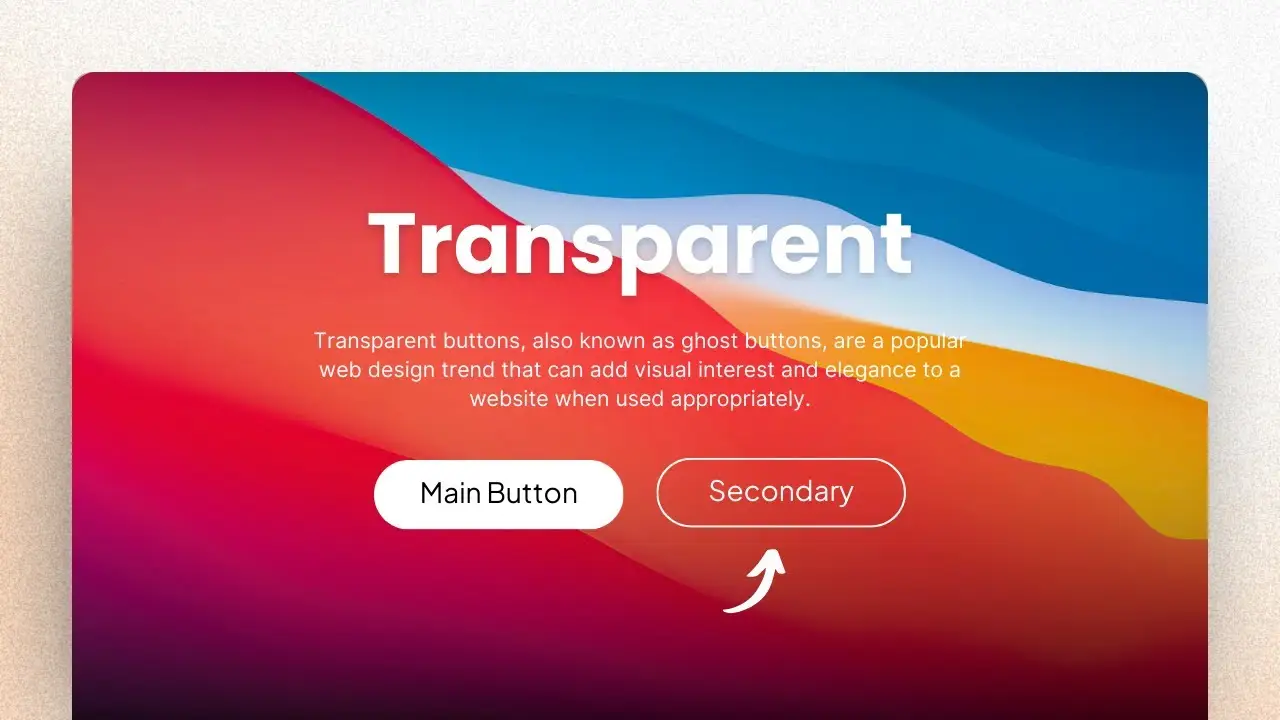
Transparent buttons, also known as ghost buttons, have become increasingly popular in modern web design. These sleek and minimalist UI elements can make your call-to-action (CTA) buttons stand out while maintaining a clean and elegant look. In this guide, I’ll walk you through the process of creating transparent buttons in WordPress using the Gutenberg editor, no plugins or coding required.
As a web designer, I’ve found that transparent buttons can significantly enhance the visual appeal of a website. They provide a clear path for visitors while offering an opportunity to explore other areas of your site. Let’s dive into the step-by-step process of creating these eye-catching buttons.
Method 1: Using the Cover Block
The first method we’ll explore involves using the Cover block in the Gutenberg editor. This approach is straightforward and doesn’t require any coding skills.
- Add a Cover Block: In the Gutenberg editor, type “/cover” and select the Cover block. Choose an image from your media library or upload a new one to serve as the background.
- Customize the Cover Block: Adjust the width and transparency of the cover block to your liking. I usually set the transparency to around 20-30% for a subtle effect. You can also add some border radius to give it a softer look.
- Insert a Button: Within the Cover block, add a Button block by typing “/button”. Enter your button text (e.g., “Learn More”) and center it within the cover.
- Style the Button: Click on the button to access its style options. Increase the font size (I recommend 16px) and adjust the padding to make it more prominent.
- Add a Link: Don’t forget to add a link to your button so it actually leads somewhere when clicked.
- Make it Transparent: Here’s the key step – in the Styles menu, select “Outline.” This instantly gives the illusion of a transparent button.
While this method is quick and easy, it does have a limitation. Depending on your theme, you might not be able to change the border color, which is typically white by default.
Method 2: Custom Transparency
If you want more control over your button’s appearance, this second method offers greater flexibility.
- Add a Button Block: Start by adding a regular Button block to your page or post.
- Adjust Background Color: In the color settings, choose any color for the background (black works well), then move the transparency slider all the way to the left. This makes the button’s fill completely transparent.
- Add a Border: Scroll down to the Border menu and select a color for the border. White is a classic choice, but feel free to experiment with other colors that complement your design.
- Customize Border Thickness: Adjust the border thickness to your liking. I find that a 2-pixel border strikes a nice balance.
This method gives you more control over the button’s appearance, allowing you to match it perfectly with your site’s color scheme and design aesthetic.
Advanced Technique: Gradient Border Buttons
For those looking to take their button design to the next level, consider creating buttons with gradient borders. This technique can add a touch of sophistication and visual interest to your CTAs. Here’s a guide on how to create reusable blocks in WordPress that you can use to save your custom button designs for future use.
Why Use Transparent Buttons?
Transparent buttons offer several advantages in web design:
- Visual Appeal: They create a modern, clean look that can enhance your overall design.
- Versatility: They work well on various backgrounds, including images and solid colors.
- Emphasis: By contrasting with solid buttons, they can draw attention to primary CTAs.
- User Experience: They provide clear interactive elements without overwhelming the user interface.
Best Practices for Using Transparent Buttons
To make the most of transparent buttons on your WordPress site, keep these tips in mind:
- Contrast: Ensure there’s enough contrast between the button and its background for readability.
- Hover Effects: Add hover effects to improve user interaction. Learn how to add hover effects in WordPress to enhance your buttons’ functionality.
- Placement: Use transparent buttons strategically, often as secondary CTAs alongside solid primary buttons.
- Consistency: Maintain a consistent style across your site for a cohesive look.
- Mobile Responsiveness: Test your buttons on various devices to ensure they look good and function well on all screen sizes.
Troubleshooting Common Issues
If you encounter any problems while creating transparent buttons, here are some solutions:
- Button Not Appearing Transparent: Double-check that you’ve moved the transparency slider all the way to the left in the color settings.
- Border Not Visible: Ensure you’ve set a border color and thickness in the border settings.
- Text Not Readable: Adjust the text color to contrast with the background behind the button.
- Button Too Small/Large: Use the padding settings to adjust the button size as needed.
Enhancing Your WordPress Site with Transparent Buttons
Incorporating transparent buttons into your WordPress site can significantly improve its aesthetic appeal and user experience. They’re particularly effective for:
- Landing pages
- Hero sections
- Call-to-action areas
- Portfolio showcases
- Product pages
By mastering the art of creating transparent buttons, you’ll have a powerful tool in your web design arsenal. Remember, the key is to use them judiciously and in harmony with your overall design strategy.
For those looking to further optimize their WordPress site, consider exploring ways to reduce plugin reliance. This can help improve your site’s performance and security.
In conclusion, transparent buttons are a fantastic way to elevate your WordPress site’s design. Whether you opt for the simple Cover block method or the more customizable approach, these buttons can make a significant impact on your site’s visual appeal and user engagement. Don’t be afraid to experiment with different styles and placements to find what works best for your unique design needs.


