- Learn how to create visually appealing rounded images in WordPress Gutenberg
- Discover the built-in tools and features of Gutenberg for image editing
- Explore advanced techniques for customizing image shapes without plugins
Have you ever wanted to add a touch of sophistication to your WordPress website by incorporating rounded images? Well, you’re in luck! Today, I’m going to show you how to create beautiful rounded images using the WordPress Gutenberg editor. No need for fancy plugins or complicated coding – we’ll do it all with the built-in tools at our disposal.
As a website owner, I’ve always been on the lookout for ways to make my content more visually appealing. Rounded images can add a modern, polished look to any webpage. They’re perfect for profile pictures, featured images, or anywhere you want to soften the edges of your visuals.
Before we dive into the nitty-gritty, let’s take a quick look at the video that inspired this post:
Now that you’ve seen a preview of what we’re aiming for, let’s break down the process step by step.
Understanding Gutenberg’s Image Block
The Gutenberg editor, which has been the default WordPress editor since version 5.0, comes with a powerful Image block. This block not only allows you to upload and insert images but also provides some basic editing capabilities. One of these features is the ability to create rounded images.
However, there’s a catch. To achieve a perfectly rounded image, your original image needs to be square. Don’t worry if your image isn’t square to begin with – I’ll show you how to crop it right within Gutenberg.
Preparing Your Image
The first step in creating a rounded image is to ensure your image is square. Here’s how to do it:
- Add a new Image block to your post or page.
- Upload your desired image or select one from your media library.
- Once the image is inserted, click on it to reveal the toolbar.
- Look for the “Crop” icon in the toolbar and click it.
- In the crop interface, click on the “Aspect Ratio” button.
- Select the “Square” option from the dropdown menu.
- Adjust the crop area to focus on the part of the image you want to keep.
- Click “Apply” to save your changes.
Voila! You now have a perfectly square image to work with. This step is crucial because the rounding effect in Gutenberg works best with square images.
Applying the Rounded Style
Now that your image is square, it’s time to make it round:
- With your image selected, look at the right sidebar in the Gutenberg editor.
- Under the “Styles” section, you should see two options: “Default” and “Rounded.”
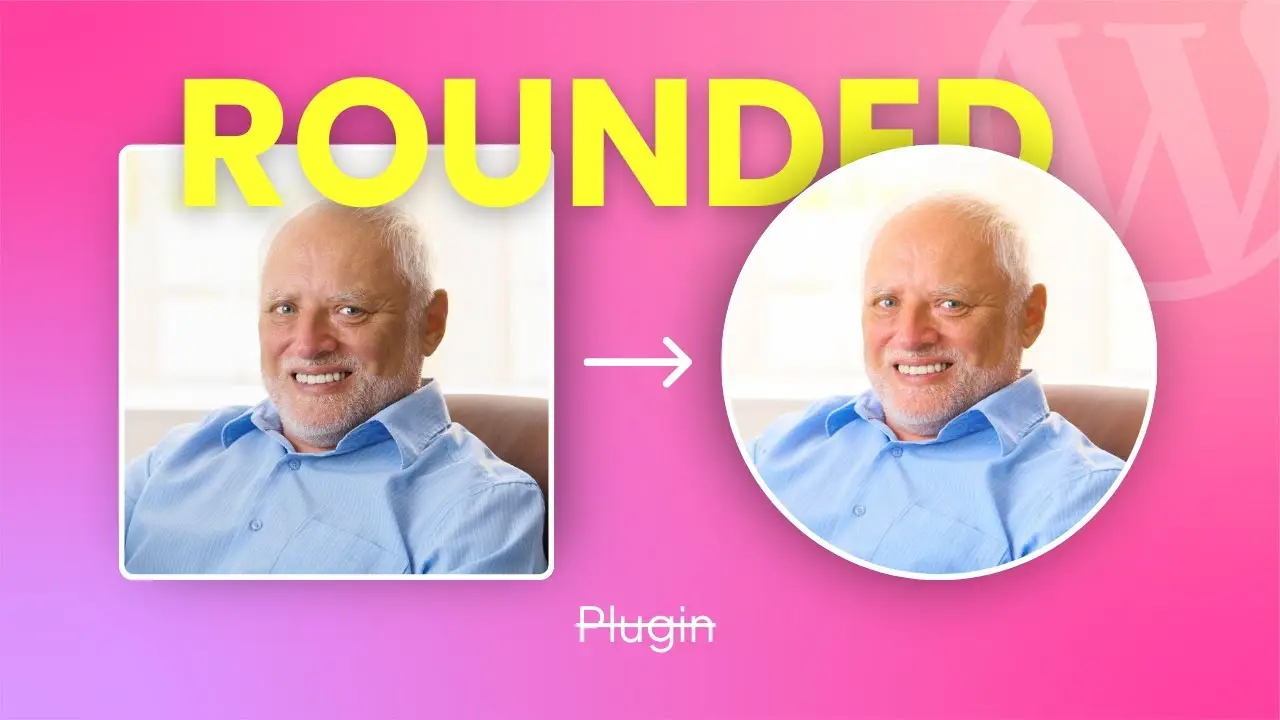
- Click on “Rounded” to instantly transform your square image into a circle.
It’s that simple! Your image should now appear as a perfect circle on your page or post.
Fine-Tuning Your Rounded Image
While the basic rounded style is great, you might want to make some adjustments to perfect your image’s appearance:
Resizing the Image
To change the size of your rounded image:
- Select the image block.
- In the right sidebar, look for the “Image settings” section.
- Adjust the “Width” and “Height” values. Remember to keep them equal to maintain the circular shape.
Aligning the Image
Proper alignment can make a big difference in how your rounded image fits into your content:
- Click on the image to reveal the toolbar.
- Look for the alignment options (left, center, right).
- Choose the alignment that best suits your layout.
Adding Alt Text
Don’t forget about accessibility and SEO:
- In the right sidebar, find the “Alt text” field under “Image settings.”
- Enter a descriptive alt text for your image.
Advanced Techniques for Custom Shapes
While Gutenberg’s built-in rounding feature is great for creating circular images, what if you want something more unique? You might want to create an oval shape or add a border radius to just the top corners of an image. For these more advanced techniques, you’ll need to use a bit of custom CSS.
How to add a line between columns in Gutenberg can give you some ideas on how to manipulate Gutenberg blocks with CSS. While that article focuses on columns, the principle of adding custom CSS to Gutenberg blocks is the same.
Here’s a quick example of how you might add custom border-radius to an image:
- Add a custom CSS class to your image block (let’s call it “custom-rounded”).
- In your theme’s CSS file or a custom CSS plugin, add the following code:
.custom-rounded img {
    border-radius: 30px 0 30px 0;
}
This will create an image with rounded corners on the top-left and bottom-right, giving it a unique look.
Creating a Gallery of Rounded Images
Once you’ve mastered creating individual rounded images, why not take it a step further and create a gallery? Gutenberg’s Gallery block combined with our rounding technique can create stunning visual displays.
- Instead of adding an Image block, add a Gallery block to your post or page.
- Upload or select multiple images for your gallery.
- In the block settings, look for the “Crop images” toggle and turn it on.
- Set the aspect ratio to 1:1 (square).
- Now, in the Styles section, choose “Rounded” just like we did for individual images.
You’ll end up with a beautiful gallery of rounded images that can really make your content pop!
Optimizing Rounded Images for Performance
While rounded images look great, it’s important to ensure they don’t slow down your website. Here are some tips for optimizing your rounded images:
- Compress your images: Before uploading, use an image compression tool to reduce file size without significant quality loss.
- Use appropriate dimensions: Don’t upload huge images if you’re only displaying them in a small size. Resize them before uploading.
- Leverage caching: Ensure your WordPress caching solution is configured to cache images effectively.
How to free up storage in WordPress offers some great tips on managing your media files efficiently, which can help with overall site performance.
Troubleshooting Common Issues
Sometimes, things don’t go as planned. Here are some common issues you might encounter and how to solve them:
- Image not perfectly round: Double-check that your image is exactly square before applying the rounded style.
- Rounded style not available: Ensure you’re using the latest version of WordPress and that your theme supports Gutenberg styles.
- Image quality issues after rounding: Try uploading a higher resolution image, as the rounding process can sometimes reveal pixelation in lower quality images.
Enhancing Your Rounded Images with Captions and Links
To make your rounded images even more functional, consider adding captions or turning them into clickable links:
- To add a caption, simply type in the caption field below the image in the Gutenberg editor.
- To make the image clickable, select it and click the “Link” button in the toolbar. Enter the URL you want the image to link to.
These additions can turn your rounded images from mere decorative elements into interactive and informative parts of your content.
Conclusion: Elevate Your WordPress Design with Rounded Images
Creating rounded images in WordPress Gutenberg is a simple yet effective way to enhance the visual appeal of your website. With just a few clicks, you can transform ordinary square images into eye-catching circular designs that can make your content stand out.
Remember, the key steps are:
- Ensure your image is square
- Apply the rounded style in Gutenberg
- Fine-tune with resizing and alignment
By mastering this technique, you’re adding another tool to your WordPress design toolkit. Whether you’re creating a personal blog, a business website, or an online portfolio, rounded images can add that extra touch of professionalism and style.
How to craft the perfect AI prompt for blog post is another great resource for creating engaging content to pair with your newly rounded images. After all, great visuals deserve equally great written content!
So go ahead, give it a try, and watch as your WordPress site transforms with these sleek, modern rounded images. Happy designing!


