- Learn how to create a sleek progress bar in WordPress using just one Gutenberg block—no plugins or coding required.
- Customize the progress bar’s design, including colors, labels, and rounded corners, for a professional look.
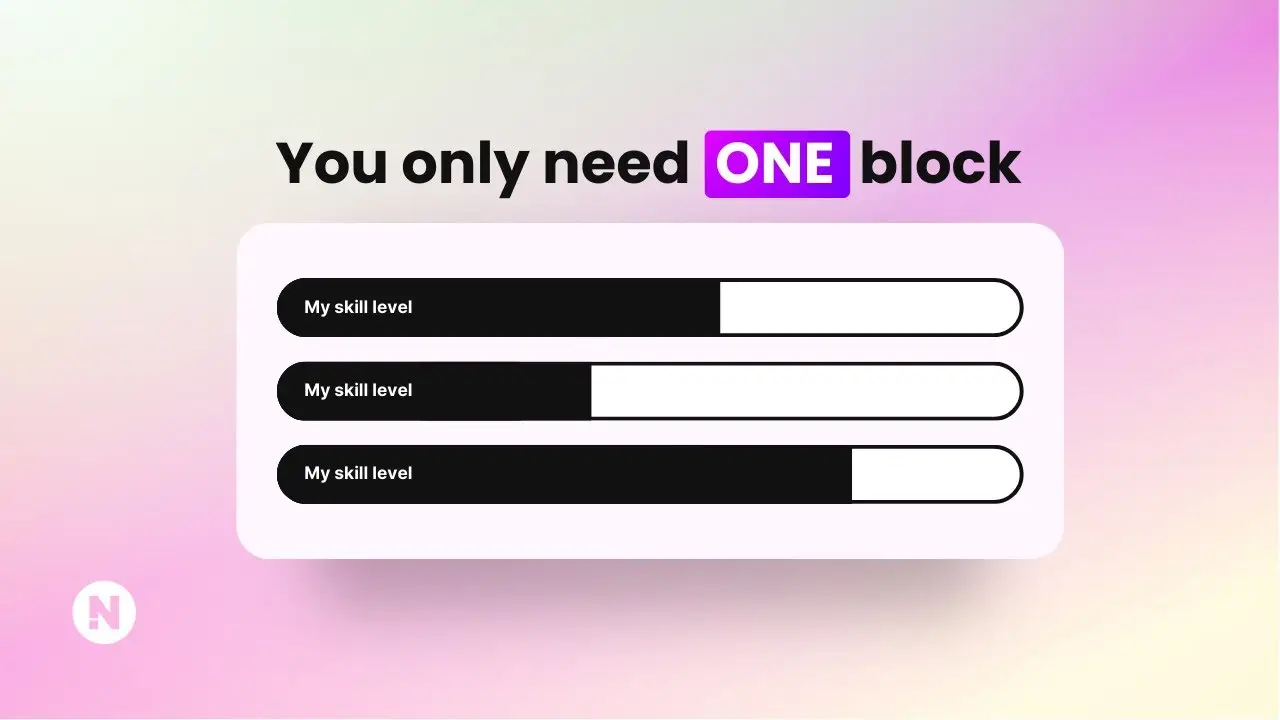
- Discover how to use overlays and gradients to simulate both filled and empty sections of the progress bar.
Creating a progress bar in WordPress can seem daunting if you’re unfamiliar with plugins or coding. But what if I told you there’s a way to design one using just one Gutenberg block? No plugins, no coding, and absolutely no need for Elementor. In this post, I’ll walk you through the simplest method to create a skill progress bar that looks professional and works seamlessly on your website.
Why Use Progress Bars?
Progress bars are not just decorative elements; they’re functional tools that help visually communicate progress or proficiency. Whether you’re showcasing skills on a portfolio or tracking project milestones, these bars can add clarity and professionalism to your website. Plus, creating one without relying on plugins means fewer compatibility issues and faster loading times.
Step-by-Step Guide: Designing a Progress Bar with Gutenberg
Step 1: Add the Cover Block
Start by opening your WordPress editor and inserting the Cover block. This block will serve as the foundation for your progress bar. You can search for it by typing “Cover” in the block selector.
- Choosing Colors: Select a background color for the block—black works well for creating contrast.
- Optional Label: Add a label or title to your progress bar (e.g., “Photography Skill”). If you prefer a minimalist design, skip this step.
For more tips on working with Gutenberg blocks, check out this article.
Step 2: Adjust Text Settings
To refine the appearance of your label:
- Make the text bold and reduce its size for better alignment.
- Adjust the line height to make the cover block thinner. A value like
0.7works well for creating a sleek progress bar design.
This step ensures that your progress bar doesn’t take up unnecessary space while maintaining readability.
Step 3: Style the Progress Bar
Now it’s time to transform the cover block into an actual progress bar:
- Border Settings: Add a border with rounded corners by setting the radius to
100px. This gives your bar smooth edges. - Overlay Feature: Use the gradient overlay tool to create two sections—one representing progress and another representing the empty portion of the bar.
To learn more about customizing Gutenberg blocks, check out this guide.
Step 4: Fine-Tune Gradients
The magic of this method lies in using gradients effectively:
- Set one gradient control point to black (or your chosen fill color) and another to white (or your empty section color).
- Adjust these points precisely to create a sharp separation between filled and empty areas.
You can even set the gradient angle to 90° for horizontal alignment, making it look like traditional progress bars you see on other websites.
Customization Tips
While this method is straightforward, customization is key to making your progress bar stand out. Here are some ideas:
- Experiment with different colors for borders and gradients.
- Add multiple progress bars on one page to showcase various skills or milestones.
- Use smaller text sizes for labels if you want a compact design.
If you’re looking for more advanced styling ideas, check out how to create reusable blocks in WordPress.
Limitations of This Method
While this approach is simple and effective, there’s one notable limitation: you can’t set exact percentages like 70% or 80%. Instead, you’ll need to approximate based on gradient control points. For most users, this is sufficient, but if precise values are critical for your project, consider exploring plugins like Ultimate Blocks that offer dedicated progress bar features.
Why Avoid Plugins?
You might wonder why we’re skipping plugins entirely. Here’s why:
- Performance: Plugins can slow down your site by adding unnecessary scripts.
- Compatibility: Updates or conflicts between plugins can break functionality.
- Simplicity: Gutenberg blocks are native to WordPress and easier to manage.
For more insights on reducing plugin reliance, read this article.
Conclusion
Creating a progress bar in WordPress doesn’t have to be complicated or require advanced tools. By leveraging Gutenberg’s built-in features like Cover blocks and gradients, you can design stylish and functional bars with minimal effort. Whether you’re showcasing skills or tracking goals, this method offers simplicity without sacrificing quality.
If you’re ready to explore more ways Gutenberg can simplify your design process, check out why Gutenberg beats Elementor for web development tasks.
Have questions about this tutorial? Drop them in the comments below!


