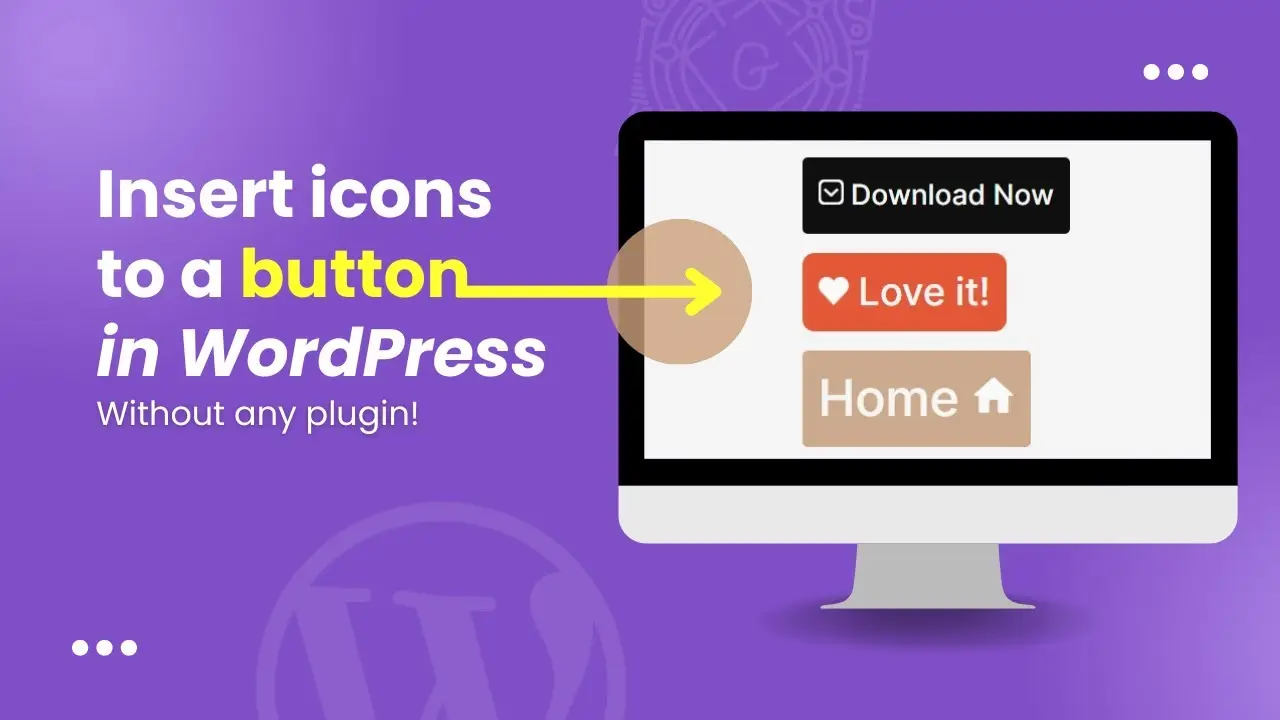
- Learn two simple methods to insert icons into WordPress buttons without plugins
- Discover how to customize button appearance using Gutenberg editor settings
- Explore free resources for finding high-quality icons for your website
As a WordPress enthusiast, I’m always looking for ways to enhance the visual appeal of my websites without relying on too many plugins. Today, I’m excited to share a neat trick I’ve discovered: adding icons to buttons in WordPress without using any plugins. This simple technique can make your buttons more engaging and eye-catching, improving the overall user experience of your site.
Let’s dive into the process step-by-step, and I’ll show you how easy it is to create buttons with icons using just the built-in Gutenberg editor.
Creating a Basic Button
First things first, let’s create a simple button in WordPress. Here’s how:
- Open your WordPress page or post editor.
- Place your cursor where you want the button to appear.
- Type “/button” to bring up the button block.
- Click on the button block to insert it.
- Type your desired text for the button. In this example, I’ll use “Love it!”
Now that we have our basic button, it’s time to make it stand out. The Gutenberg editor offers a variety of customization options to style your button. Let’s explore some of these:
- Click on the button to select it.
- In the block settings sidebar, look for the “Block” tab.
- Here, you’ll find options to change the button’s color, size, and other parameters.
For instance, you might want to:
- Change the background color to red
- Increase the size to extra large
- Adjust the border radius to 12 pixels
Feel free to play around with these settings until you’re happy with how your button looks. Remember, the goal is to make it visually appealing and in line with your website’s design.
Method 1: Adding an Icon Using an Inline Image
Now, let’s add an icon to our button using an inline image. This method allows you to use custom icons or images as your button icons.
- Click at the beginning of your button text (or at the end, if you prefer).
- Press the spacebar to create a gap between the icon and text.
- In the toolbar, click on the “More options” (three dots) menu.
- Select “Inline image” from the dropdown.
At this point, you’ll need to have an icon image ready to use. There are several great resources for finding free icons online:
Remember to check the attribution requirements for any icons you use from these sites.
Once you’ve selected your icon:
- Upload or select the icon image.
- Click “Select” to insert it into your button.
- If the icon appears too large, click on it and adjust the size in the settings. I usually find that around 30 pixels works well for most buttons.
And voila! You now have a button with a custom icon.
Method 2: Using Emojis as Icons
If you’re looking for an even simpler method, or if you want to quickly add some personality to your buttons, emojis can be a great alternative to custom icons.
Here’s how to add an emoji to your button:
- Place your cursor where you want the emoji in your button text.
- Right-click and select “Emoji” from the context menu. (Note: The exact method might vary depending on your operating system and browser.)
- Choose an emoji that fits your button’s purpose. For our “Love it!” button, a heart emoji would be perfect.
Emojis are already optimized for display alongside text, so you won’t need to worry about resizing or alignment issues.
Tips for Effective Button Design
Now that you know how to add icons to your buttons, here are some tips to make them even more effective:
- Consistency is key: Use a similar style of icons across your website for a cohesive look.
- Don’t overdo it: Not every button needs an icon. Use them sparingly for important calls-to-action.
- Ensure readability: Make sure the icon doesn’t overshadow the button text.
- Consider color contrast: Ensure your icon is visible against the button’s background color.
- Test on mobile: Check how your buttons with icons look on different devices and screen sizes.
Beyond Basic Buttons
Once you’ve mastered adding icons to buttons, you might want to explore more advanced WordPress features. For instance, you could create reusable blocks in WordPress to save your custom button designs for future use. This can be a real time-saver, especially if you frequently use similar button styles across your site.
Wrapping Up
Adding icons to buttons in WordPress without plugins is a simple yet effective way to enhance your website’s design. Whether you choose to use inline images or emojis, this technique can help make your buttons more visually appealing and potentially increase click-through rates.
Remember, the key to great web design is often in the details. Small touches like custom button icons can make a big difference in how users perceive and interact with your site. So go ahead, give it a try, and see how it can improve your WordPress website!
If you’re looking to further optimize your WordPress site, you might also be interested in learning how to reduce plugin reliance in WordPress. This can help improve your site’s performance and security.
Happy WordPress designing!


